SwiftUI Vs Flutter: Profile View
I built a profile page in SwiftUI and Flutter, let's compare the differences
Wed, December 21 2022

Jake Landers
Developer and Creator
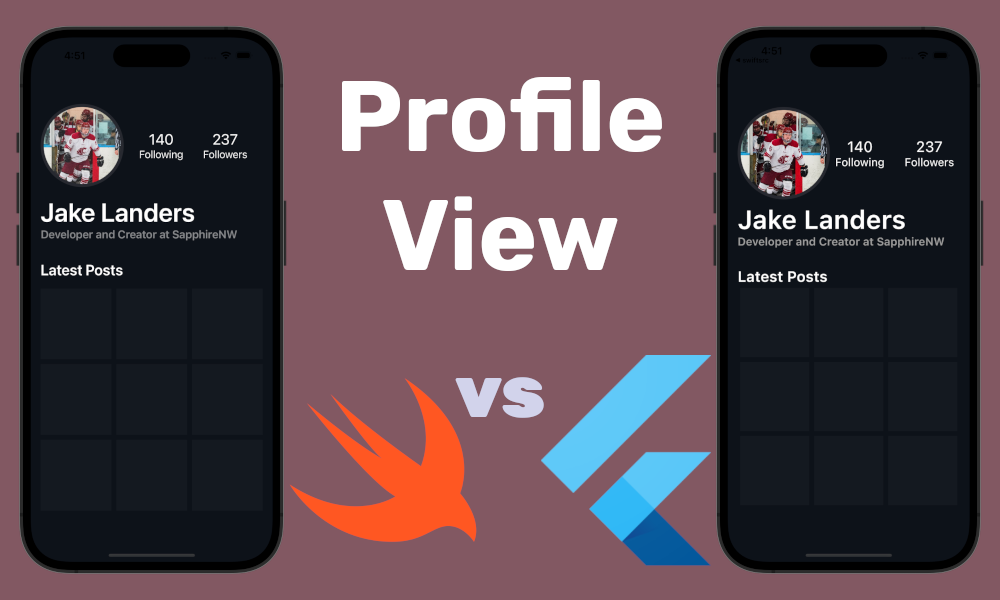
Table of Contents
SwiftUI and Flutter are two popular frameworks for explicitly creating mobile user interfaces. It can be hard to choose what to build your next app with, so building the same screen in both frameworks can shed some light on the pros and cons of both.
Comparing the Frameworks
Here are some key differences between Flutter and SwiftUI:
-
Language: Flutter uses the Dart programming language, while SwiftUI uses the Swift programming language.
-
Architecture: Flutter uses a fast and reactive framework that allows developers to build efficient and beautiful user interfaces. SwiftUI, on the other hand, is built on top of Apple's declarative framework and uses a declarative syntax to build user interfaces.
-
Compatibility: Flutter can be used to build applications for Android, iOS, web, desktop, and even embedded devices. SwiftUI, on the other hand, is only compatible with iOS, iPadOS, macOS, watchOS, and tvOS.
-
Community: Flutter has a large and growing community of developers, with a wide range of third-party packages and plugins available. SwiftUI is a newer framework, so it has a smaller community and fewer third-party packages and plugins available.
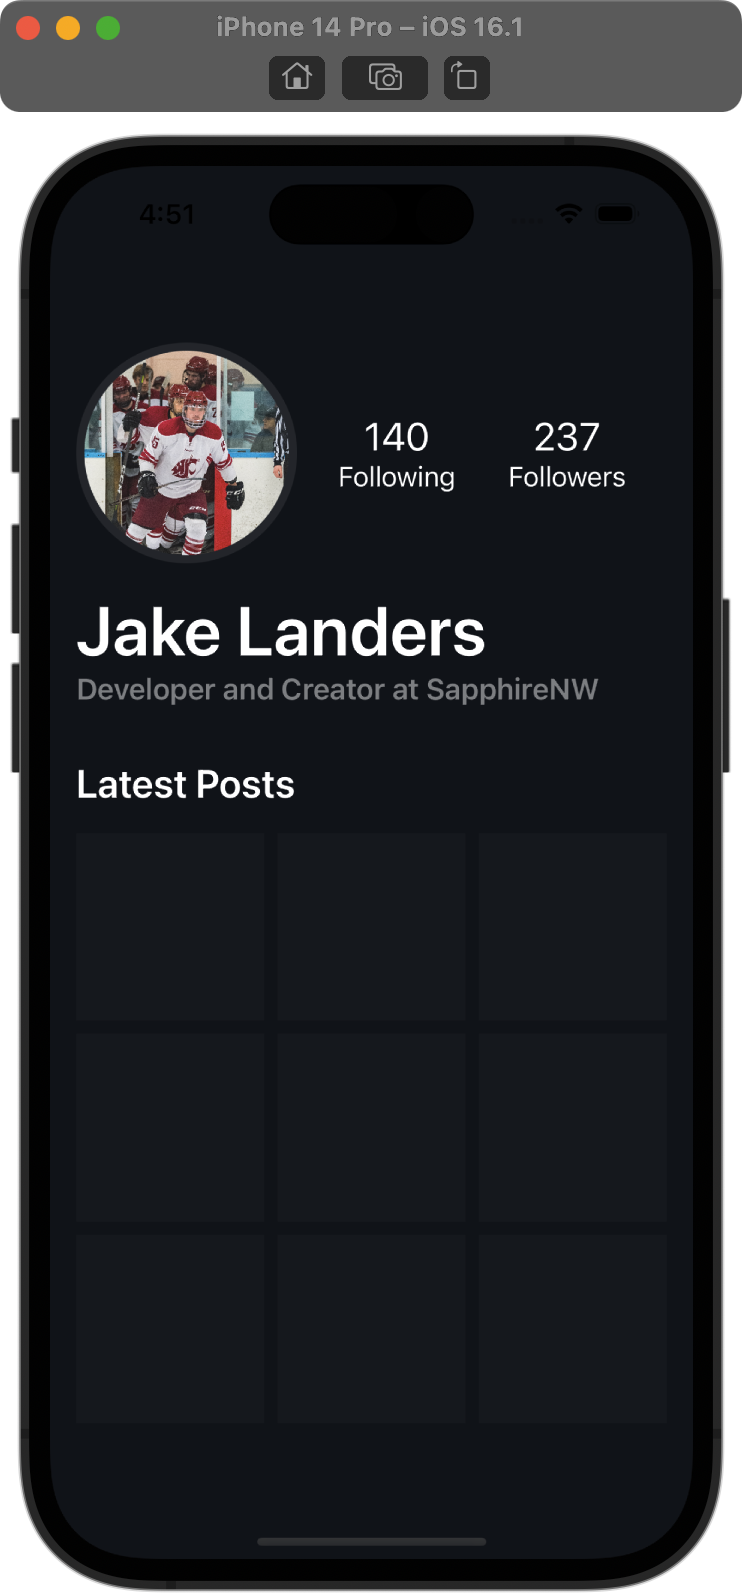
End Result:
Avatar
First, we need to start with the avatar. This will be an image loaded from the device, and shaped to be a circle with a slight border. Lets take a look at the Swift and Flutter implementation:
Swift Avatar
1var avatar: some View {
2    ZStack {
3        Image("jake")
4            .resizable()
5            .frame(width: 125, height: 125)
6            .clipShape(Circle())
7        Circle()
8            .fill(Color.white.opacity(0.1))
9            .frame(width: 135, height: 135)
10    }
11}
12
Flutter Avatar
1Widget _avatar(BuildContext context) {
2    return Container(
3        height: 150,
4        width: 150,
5        decoration: BoxDecoration(
6            border: Border.all(color: Colors.white.withOpacity(0.2), width: 5),
7            shape: BoxShape.circle,
8        ),
9        child: ClipRRect(
10            borderRadius: BorderRadius.circular(75),
11            child: Image.asset(
12                "assets/jake.jpg",
13                height: 150,
14                width: 150,
15            ),
16        ),
17    );
18    }
19
One thing to note about SwiftUI is that there is not an easy way to add a border to a view after adding a clip shape. Therefore, we can use a ZStack to add a background circle with our desired border color and size it to be 10px larger than our profile image. But in Flutter, we are able to add the decoration attribute on the Container, and add the border and shape fields to give the circle border effect.
The reason the Avatars are different sizes is one was using an iPhone 14 pro max simulator, while the other was using the non-max.
Stats
Next, we can define some user stats that will be shown on the main dashboard page. This will include Followers and Following.
Swift Stats
1var stats: some View {
2    HStack(spacing: 32) {
3        VStack {
4            Text("140")
5                .font(.system(size: 24))
6            Text("Following")
7        }
8        VStack {
9            Text("237")
10                .font(.system(size: 24))
11            Text("Followers")
12        }
13    }
14    .foregroundColor(.white)
15}
16
Flutter Stats
1Widget _stats(BuildContext context) {
2    return Row(
3        children: [
4            Column(
5                children: const [
6                    Text(
7                        "140",
8                        style: TextStyle(
9                        color: Colors.white,
10                        fontSize: 24,
11                        ),
12                    ),
13                    Text(
14                        "Following",
15                        style: TextStyle(
16                        color: Colors.white,
17                        fontSize: 18,
18                        ),
19                    ),
20                ],
21            ),
22            const SizedBox(width: 32),
23            Column(
24                children: const [
25                    Text(
26                        "237",
27                        style: TextStyle(
28                            color: Colors.white,
29                            fontSize: 24,
30                        ),
31                    ),
32                    Text(
33                        "Followers",
34                        style: TextStyle(
35                            color: Colors.white,
36                            fontSize: 18,
37                        ),
38                    ),
39                ],
40            ),
41        ],
42    );
43}
44
SwiftUI's declarative syntax really shines here, as we do not need to define the text color on every view, just on the surrounding HStack. Along with no nested children, this portion of the code is a lot less verbose compared to the Flutter version. In the Flutter version, we need to define the style attribute on the Text widget for every one. There are ways to get around this with styles, but this does not completely alleviate the issue.
Header
Now, we can combine the two views into a complete header view.
Swift Header
1HStack {
2    avatar
3    Spacer()
4    stats
5    Spacer()
6}
7
Flutter Header
1Row(
2    children: [
3        _avatar(context),
4        const Spacer(),
5        _stats(context),
6        const Spacer(),
7    ],
8),
9
When defining basic horizontal and vertical layouts, these two frameworks are shockingly similar. The SwiftUI implementation uses an HStack, with Flutter opting for the Row widget. referencing the children we created above and the use of the Spacer view is the same between both frameworks, and easily readable.
Content
Swift Content
1var content: some View {
2    VStack(spacing: 8) {
3        ForEach(0..<3, id:\.self) { i in
4            HStack(spacing: 8) {
5                ForEach(0..<3, id:\.self) { j in
6                    Rectangle()
7                        .fill(bgColorAccent)
8                        .aspectRatio(1, contentMode: .fit)
9                }
10            }
11        }
12    }
13}
14
Flutter Content
1Widget _content(BuildContext context) {
2return Column(
3    children: [
4        for (var i = 0; i < 3; i++)
5            Row(
6                children: [
7                    for (var i = 0; i < 3; i++)
8                    Expanded(
9                        child: Padding(
10                            padding: const EdgeInsets.all(4.0),
11                            child: Container(
12                                color: bgColorAccent,
13                                width: double.infinity,
14                                child: const AspectRatio(aspectRatio: 1),
15                            ),
16                        ),
17                    ),
18                ],
19            ),
20        ],
21    );
22}
23
Again, both of the implementations use very similar syntax and structure to accomplish the same thing. The Columns in Flutter are VStacks in SwiftUI. The Rows are HStacks. Flutter opts for a more traditional for loop, while SwiftUI uses the ForEach view.
Putting It All Together
Swift
1struct Profile: View {
2    var body: some View {
3        VStack(alignment: .leading, spacing: 16) {
4            HStack {
5                avatar
6                Spacer()
7                stats
8                Spacer()
9            }
10            VStack(alignment: .leading) {
11                Text("Jake Landers")
12                    .foregroundColor(.white)
13                    .font(.system(size: 42, weight: .semibold))
14                Text("Developer and Creator at SapphireNW")
15                    .foregroundColor(.white.opacity(0.5))
16                    .font(.system(size: 18, weight: .semibold))
17            }
18            Text("Latest Posts")
19                .foregroundColor(.white)
20                .font(.system(size: 24, weight: .semibold))
21                .padding(.top, 16)
22            content
23        }
24        .padding()
25        .frame(maxWidth: .infinity, maxHeight: .infinity)
26        .background(bgColor)
27    }
28
29    var avatar: some View {
30        ZStack {
31            Image("jake")
32                .resizable()
33                .frame(width: 125, height: 125)
34                .clipShape(Circle())
35            Circle()
36                .fill(Color.white.opacity(0.1))
37                .frame(width: 135, height: 135)
38        }
39    }
40
41    var stats: some View {
42        HStack(spacing: 32) {
43            VStack {
44                Text("140")
45                    .font(.system(size: 24))
46                Text("Following")
47            }
48            VStack {
49                Text("237")
50                    .font(.system(size: 24))
51                Text("Followers")
52            }
53        }
54        .foregroundColor(.white)
55    }
56
57    var content: some View {
58        VStack(spacing: 8) {
59            ForEach(0..<3, id:\.self) { i in
60                HStack(spacing: 8) {
61                    ForEach(0..<3, id:\.self) { j in
62                        Rectangle()
63                            .fill(bgColorAccent)
64                            .aspectRatio(1, contentMode: .fit)
65                    }
66                }
67            }
68        }
69    }
70}
71
Flutter
1Widget build(BuildContext context) {
2  return Scaffold(
3    backgroundColor: bgColor,
4    body: SafeArea(
5      child: Center(
6        child: Padding(
7          padding: const EdgeInsets.all(16.0),
8          child: Column(
9            crossAxisAlignment: CrossAxisAlignment.start,
10            mainAxisSize: MainAxisSize.min,
11            children: [
12              Row(
13                children: [
14                  _avatar(context),
15                  const Spacer(),
16                  _stats(context),
17                  const Spacer(),
18                ],
19              ),
20              const SizedBox(height: 8),
21              const Text(
22                "Jake Landers",
23                style: TextStyle(
24                  fontSize: 42,
25                  fontWeight: FontWeight.w600,
26                  color: Colors.white,
27                ),
28              ),
29              const Text(
30                "Developer and Creator at SapphireNW",
31                style: TextStyle(
32                  fontSize: 18,
33                  fontWeight: FontWeight.w600,
34                  color: Colors.grey,
35                ),
36              ),
37              const SizedBox(height: 32),
38              const Text(
39                "Latest Posts",
40                style: TextStyle(
41                  fontSize: 24,
42                  fontWeight: FontWeight.w600,
43                  color: Colors.white,
44                ),
45              ),
46              const SizedBox(height: 16),
47              _content(context),
48            ],
49          ),
50        ),
51      ),
52    ),
53  );
54}
55
The structure between the two views is very similar. Though one main difference is that in the SwiftUI implementation, I am taking advantage of the spacing parameter on VStacks and HStacks. This adds some padding between the views. Accomplishing the same effect in Flutter is not hard though, just using Sizedbox wherever necessary.
Conclusion
Overall, the developer experience in building with these two frameworks are about equal. There are some pros to SwiftUI, while there are others to Flutter. Such as in SwiftUI, animations and overall syntax is a bit more intuitive and less verbose. But with Flutter, there is access to a large community of packages. And using pub, adding these packages to your project is trivial.
Lastly, these are two different tools for two different jobs. Flutter aims to be the most compatible with as many platforms as possible, and to maintain consistency between the platforms. SwiftUI on the other hand, runs a bit faster than the Flutter Skia engine, but is locked down to the Apple ecosystem of devices. I know it may be hard to hear, but the platform to choose for your next project heavily depends on what your project is.